Printable 10 Times Table Chart
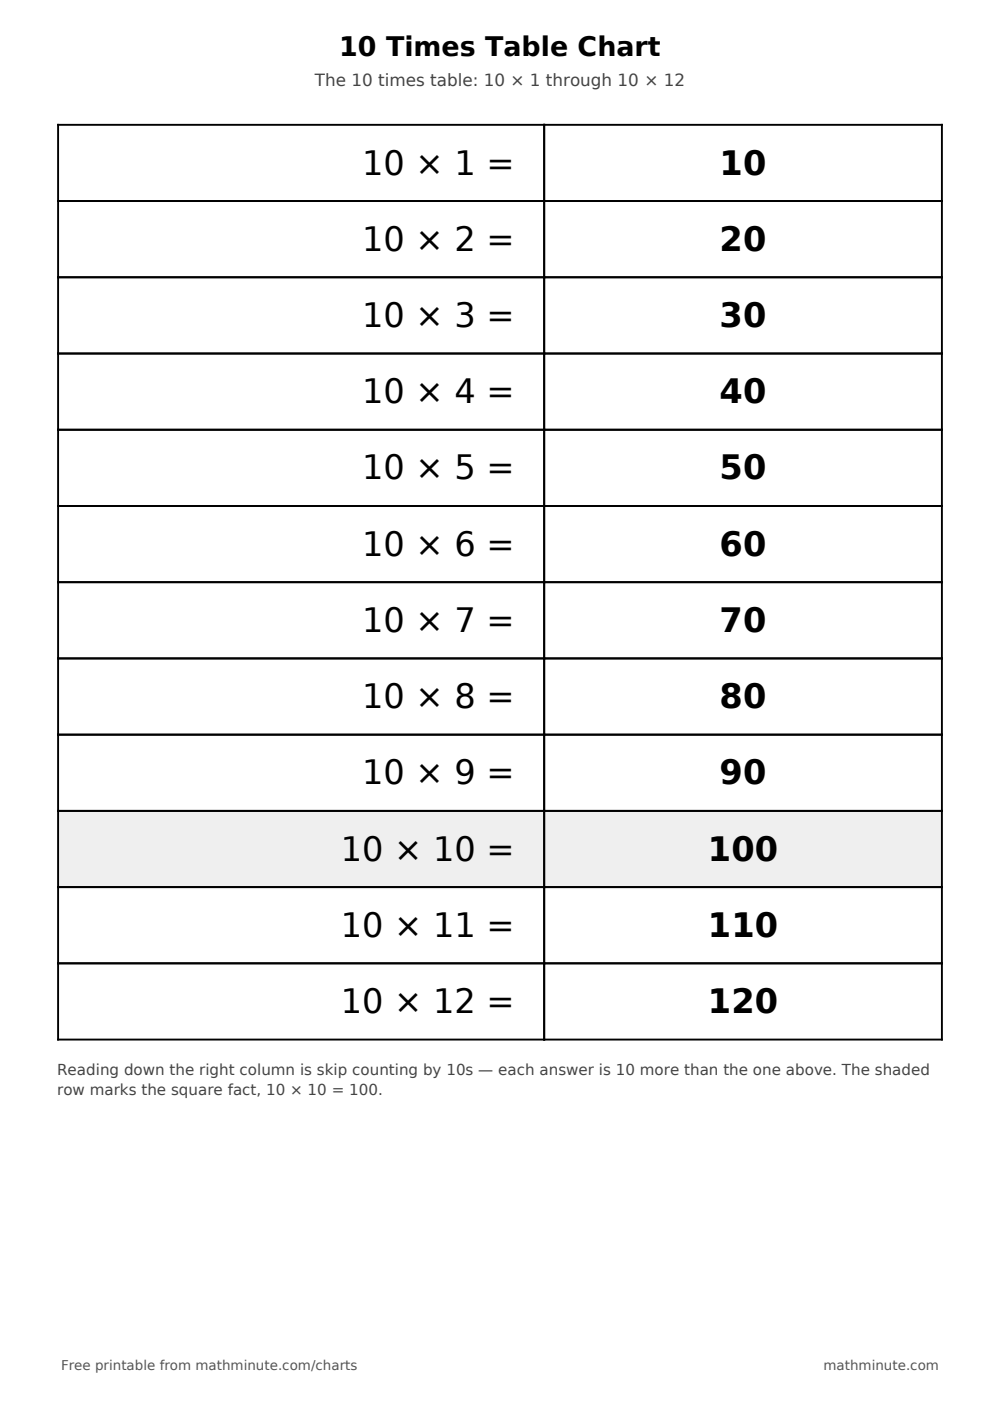
The 10 times table in large print from 10 × 1 to 10 × 12, with a blank fill-in version. It is the simplest table — attach a zero — but also the most important one to make automatic, because the 9s, 11s, and 12s are all fastest to compute as small adjustments from the 10s.
How to Use the 10 Times Table Chart
Use the chart to teach the why behind the trick: multiplying by ten shifts every digit one place to the left, and the empty ones place fills with zero. Said that way, "add a zero" becomes a first lesson in place value instead of a piece of magic — one that pays off again when decimals arrive.
Make it concrete with dimes — 6 dimes is 60 cents — and then use the 10s as a launchpad: 9 × 7 is 70 minus 7, and 11 × 7 is 70 plus 7. The blank chart fills in quickly; the timed 10 times table game confirms the whole table is automatic.
Frequently Asked Questions
Why is the 10 times table considered the anchor table?
Because its neighbors are all quick adjustments from it: 9 × n is 10 × n minus n, 11 × n is 10 × n plus n, and 12 × n is 10 × n plus 2 × n. A student with automatic 10s can reach three other tables in one step.
Is "just add a zero" a good way to teach the 10s?
It is a fine shortcut once the reason is understood: multiplying by ten shifts each digit one place-value column to the left, leaving a zero in the ones place. Teaching the shift, not just the trick, prepares students for multiplying decimals by ten later.